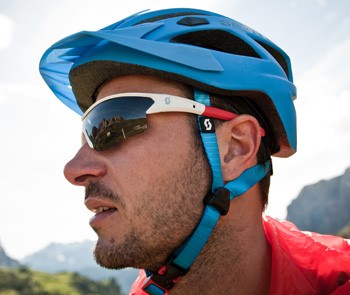
A correctly fitting helmet is not only safer to wear, it’s more comfortable and will reduce the likelihood of headaches, excessive sweating or chafing against your skin.
Step 1: Measure your headBack to top
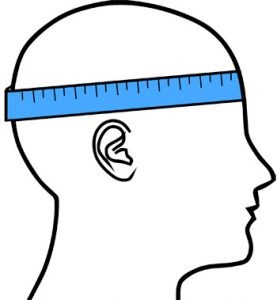
Bike helmet sizes are typically given as Small/Medium/Large, or in measurements of centimetres/inches. With a tape measure (you can download and print your own tape measure here), start approximately 1-2 finger-widths above your eyebrows and measure right around the back of your head at the widest part. Use the chart below to work out what helmet size is right for you:
| Head size (centimetres) | Head size (inches) | |
| Small* | 50 to 55 | 19 ¾ to 21 ½ |
| Medium* | 54 to 59 | 21 ½ to 23 ¼ |
| Large* | 58 to 63 | 23 ¼ to 25 |
| *S/M/L equivalent sizes may vary slightly between manufacturers | ||
2. Find a style and colour you likeBack to top
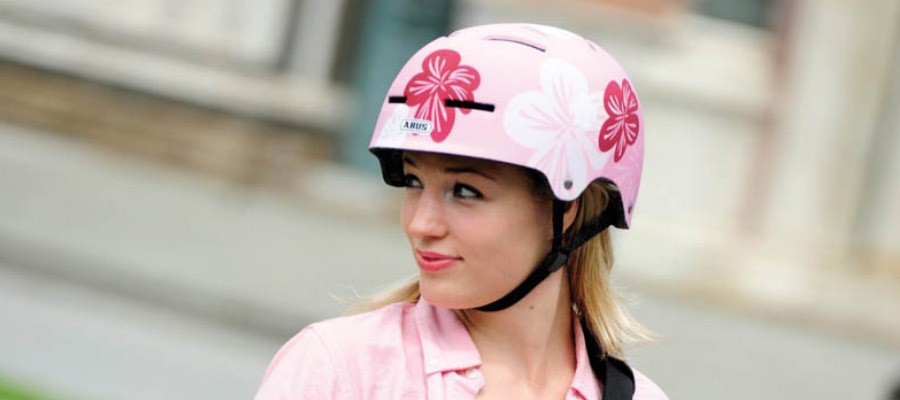
You might not think it matters, but it’s important to have a cycle helmet that you like the look of and you’re comfortable wearing. Bicycle helmets come in all sorts of shapes and sizes, and will vary depending on the type of cycling you do. For example, you don’t need a big heavy full-face helmet just for a quick ride to the shops and back.
- Road bike helmets are designed to be lightweight and give good ventilation, while still meeting safety requirements. They aren’t designed to take impacts as hard as a mountain bike helmet, but they can still save your life.
- Mountain bike helmets are strong and tough. They have good ventilation and will protect your head against heavy impacts, but the trade-off is that they’re heavier than road bike helmets.
- Urban cycling helmets are more stylish and comfortable than other types. They may be tougher than a road helmet, but they don’t have as much ventilation, so you might get a little hot & sweaty if you wear one during a race.
- Full-face bike helmets give the ultimate protection in a crash. The chin guard protects your face from the front while the extended sides and rear give you all-round impact protection. They’re heavy and sweaty, but they’re super strong. In fact, some MTB full face helmets are even rated strong enough for motocross use.
- BMX helmets or skate-style helmets are popular with street, trials and dirt jump riders, plus younger riders who prefer the relaxed style. They are similar to many urban helmets with low side and rear cover, and typically have bright colours & broad straps, with little ventilation.
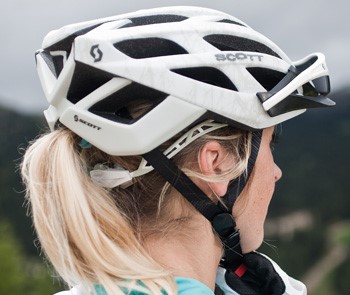
3. Find the right position
Your helmet should sit level on top of your head, without covering your eyebrows or sitting low down on the nape of your neck.
You should be able to fit 1-2 fingers between your eyebrows and the front edge of the helmet. A quick test* you can try which works for most people: If you were to walk upright into a wall, your helmet should come into contact with it before your nose does.
*We take no responsibility for any damaged noses caused by people headbutting or running full-speed into walls whilst trying out this test
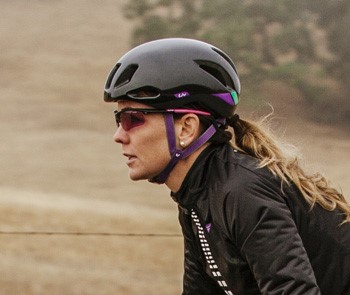
4. Set the tightnessBack to top
Helmets typically come with either a set of interchangeable thick/thin inner padding, an adjustable ring at the back of the head, or both. Once you have found the correct position, try changing the inner pads and/or adjusting the ring-strap to find the best fit. This is usually done by trial and error, but only needs to be done once.
Your helmet should be:
- Tight enough that you can shake your head around without the lid flopping all over the place
- Loose enough to not cause headaches
- Loose enough to be easily removable by hand without trying to take the top of your head off with it
Step 5: Adjust the strapsBack to top
Your helmet will have an adjustable chin strap, and often also adjustable front & rear straps on each side. First, centre the buckle or quick-strap under the middle of your chin using the left/right straps. As you make adjustments, you want this buckle to stay in the middle.
With the helmet on and in place, open your mouth as wide as you can:
- If your chin pulls the strap down very tightly, it needs to be slackened
- If your chin doesn’t pull the strap at all, it needs to be tightened
- If your chin just begins to pull on the strap, it is tightened correctly
Whilst you are out riding your bike:
- If your helmet rocks forwards over your forehead, the padding/head band may be too loose and the rear straps need to be tightened
- If you helmet rocks backwards and exposes your forehead, the padding/head band may be too loose and the front straps need to be tightened


